1) Create Experiment
Welcome to the Phoenix ELN step-by-step quick start guide. This tour is based on the Demo user experiments which come with every new Phoenix ELN installation.
|
Auto-Save: Phoenix ELN continuously saves your work, therefore no "Save" button is required. Look for the shortly flashing green dot in the top right corner of the application indicating an auto-save operation. |
So let's start. This first step describes how to create a new experiment. To create a new experiment, just click the blue add experiment link below the 'All experiments' group:

The New Experiment dialog opens, providing various options for creating a new experiment, ranging from creating a new empty one, copying (cloning) various parts of the currently displayed experiment, up to importing an export file of someone else.
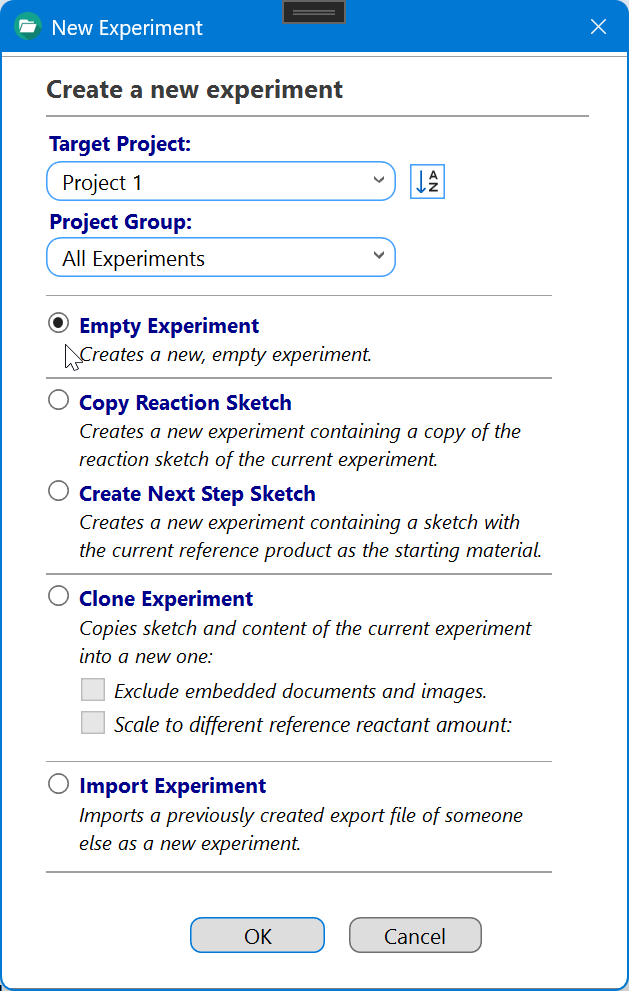
We will focus here on the first option, i.e. creating a new empty experiment. The other options essentially are shortcuts of this, copying various parts of the currently displayed experiment into a new one. So select the Empty Experiment option, then confirm by clicking OK. This will create a new empty experiment with a unique experiment-ID:
![]()
Now click anywhere inside the empty sketch area to create the experiment reaction sketch, as described in the next step.